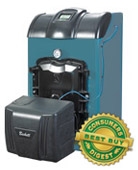
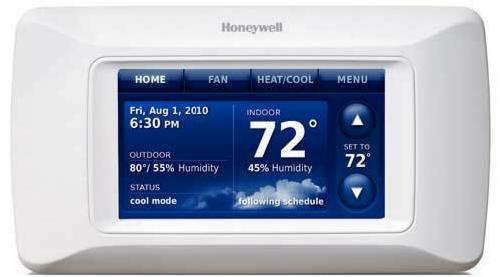
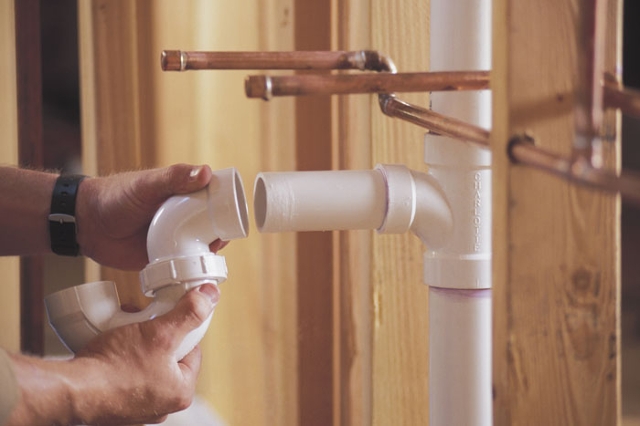
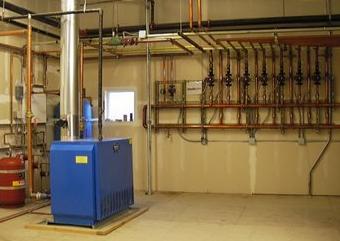
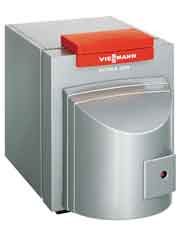
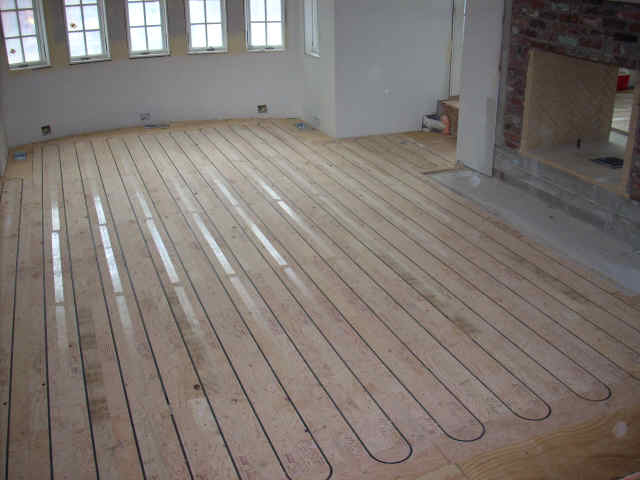
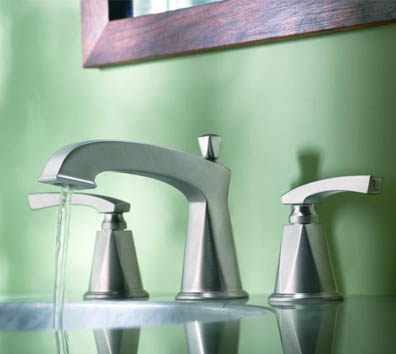


Mike Michael Lombardi Plumbing and Heating LLC Danbury CT Connecticut 06810 (203)792-2914 203.792.2914 2037922914 Fairfield County Litchfield County New Haven County Plumber HVAC Heating Ventilation Air Conditioning Services include All Plumbing & Heating Repairs, Plumbing Service, Radiant Heating Specialistm, Installations for New Homes & Additions, Kitchen & Bath Remodeling, Consultation & Design, Furnace Installations, Sheet Metal & Ductwork, Pipe Thawing, Well Pumps & Water Tanks, Water Heater Installation & Repair, Gas Piping / Appliances, Oil Tanks Installation & Repair, Water Conditioner Sales & Repair, Water Filters / Softeners, Tub & Tile Repair, Excavation / Location. The sound of water drip, drip, dripping in the middle of the night is extremely annoying. Avoid the high cost of plumbing repair by repairing the leaky faucet yourself. The following guide has helpful ideas on repairing any faucet. The repetitive dripping and seeping of a leaky faucet is not only bothersome, but will also stain your sink with water spots and inflate your water bill. A little leak can cost you up to three gallons of water in a single day Determine the cause of the leaky faucet and determine how to fix it. Common causes of leaks include a loose connection or a washer that is worn out, the wrong size or poorly installed. Loose faucet handles can cause water to drip from the faucet. This can be fixed by tightening the screws on each handle using a screw driver. Caution should be taken not to over-tighten the screws as stripping may occur. You may need to replace the screws and possibly the handles as well, depending on the severity with which the screws or handles are stripped. You can identify a loose connection on a faucet if it is leaking from the base of its arm or from the area around the packing nut. Using the adjustable wrench, tighten the nut that is located just below the faucet handle. If it keeps leaking, unscrew and detach from the base. Replace the rubberized washer with a new one and then screw the arm back on. Once again, screw it back on firmly, but make sure that it can still move freely with normal effort Replace the washer in a leaky faucet for an immediate solution. Unscrew and remove each knob or handle from the sink or wall and remove the washer. Replace with a new washer. Re-attach the handle, screwing it in firmly. For designer bathroom faucets, remove the designer cover to access the faucet's handle. Leaky kitchen faucet require a different solution as they have a bar with a near 360° range of motion. To fix a leaky kitchen faucet, unscrew the end cap and remove the rubberized washer. Replace the washer with a new one and screw the metal end cap back onto the spigot firmly. Oil furnaces provide reliable heat in areas where oil is sold as a utility. In addition, oil heat is convenient for off-the-grid homes that store oil for heating purposes. New oil furnaces are highly efficient, but an annual tune up will keep them functioning at top performance. While you should hire a professional for major repairs or replacements, you can tune up your oil furnace annually and save money; here's how. Plan to tune up your oil furnace after its last use in the spring. This is the best time for routine maintenance, and if you need to call a professional, it will be easier to get one at this time. Shut off the oil supply valve to your furnace and disconnect the electrical feed to the blower before you begin. Start with the chimney and work your way towards the furnace. Clean the soot buildup from the stack by removing the bolts with a wrench and placing the bolts on the newspaper. Remove the control sensor by gently disconnecting the plug and set it aside. Use the wire brush with a soft rag attached to gently rub off excess soot. Wipe clean with another soft rag before replacing the control sensor and bolting the stack back into place. Check the draft regulator, found on the outside of the stack and move it back and forth to ensure that it operates freely. If it sticks, wipe any accumulate soot away carefully with a cotton-tipped swab. Replace the oil filter. Remove the filter housing by unscrewing the unit. Carefully pull the old filter from the housing and dispose of it according to the regulations in your community. Pry the old gaskets loose with your fingernail or a screwdriver. Wipe the housing clean and put a new filter and gasket on before reattaching it to the furnace. There are many ways in which a well pump can malfunction, and many reasons for each malfunction to occur. Whether your well pump motor is not starting, will not stop starting, or never stops at all, there are several avenues you can explore to see what might be wrong. Troubleshooting a well pump problem generally involves inspecting the many parts of the pump for signs of damage or improper functioning. Often a diagnosis is made through the process of elimination. Depending on your knowledge of plumbing and electrical systems, many of the repairs can be done without professional advice. When the Motor does Not Start. Your well pump motor may not start for a number of reasons. Some are simple to fix and some require additional labor and expertise: Check the fuses and the circuit breaker box. If a circuit breaker has tripped simply flip the switch. Look for any dirty, loose or corroded fuses that may require replacing. Inspect the wiring, cabling and pressure switch. Similar to the fuses, look for corrosion or loose connections that may need to be replaced. Check the pressure switch by testing the voltage at the contact points. If there is little or no voltage first try to clean the contact points. If that fails try replacing the pressure switch. Measure the voltage at the line terminals. Use a voltage meter to see If the voltage is at plus or minus ten percent of the rated voltage. If the voltage is reading incorrectly you will need to contact the power company. When the Motor Starts too Often. Check the pressure switch. If the pressure switch setting is incorrect simply reset. If there are any noticeable defects it will need to be replaced. Inspect the check valve. If the check valve is stuck open it will not hold the proper pressure and continue to start. If this is the case it will require replacing. Check the air charge. A faulty air charge can lead to a tank that is waterlogged and will need to be replaced. Inspect the pipes. Take a look at the pipes connected to the well pump to see if you find any obvious leaks that require pipe replacing or repairing. When the Motor Won't Stop Running Check the pressure switch. See if adjusting the pressure switch stops the motor and solves the problem. Otherwise try and clean the contacts. If this does not work you may need to replace the pressure switch. Look for loose or broken well pump parts. Inspect the pump for loose couplings or a broken motor shaft, If you see any obvious damage it will need to be repaired or replaced. Inspect the check valve. If the check valve is in the closed position it will stop the motor. Simply adjust the valve. Check the pump screen. If it is blocked or clogged by dirt or debris remove it by wiping whatever is clogging it away. Signs of a Well-Worn Pump The signs that a well pump has lived out its lifespan are similar to what happens when there is a low leak or when the well's water level is too low. You can diagnose a worn pump via the process of elimination. Rule out a leak by inspecting the pipes. Next lower the pressure switch. If the pump shuts off then worn parts may be to blame and the parts and/or the entire well pump may likely need replacement. Warnings It is clear that certain aspects of well pump troubleshooting require some knowledge and comfort working with electrical and plumbing systems. When in doubt, choose safety by calling a licensed repair person. Don't try to make electrical or plumbing repairs if you are not qualified. Having a warm radiant heat floor to step on in the morning is a soothing thought, especially if you live in a cold weather climate. Radiant heat flooring can make your floors warm and toasty. There are hydronic radiant heating systems and electric radiant heating systems. Installing a hydronic radiant heating system is more complicated than installing an electric radiant heating system - a hydronic radiant heating system involves tubing, water, a pump and manifold. The hydronic tubes are installed below subfloors, usually in the joist spaces of a basement or crawlspace, and heats floors with the warm water passing through them. Electric radiant heating systems are like the thin heating cables found in a heating pad and are installed beneath floor tiles. While electric radiant heating systems are easier to install, hydronic radiant heating systems will reduce your heating bill over the long-term. Even if you've never worked with radiant heat flooring before, installing it yourself is easier than you might think. Decide whether to install a hydronic radiant heating system or an electric radiant heating system. Hydronic radiant heating systems are often used to heat the floors throughout an entire house, while electric radiant heating systems are best suited for specific rooms. Whichever you choose, you will enjoy radiant heat flooring for many years to come. INSTALLING RADIANT HEAT FLOORING - ELECTRIC If you decide to install an electric radiant heating system, follow these installation instructions: Make a scale drawing of the floor where you want the heating cables to be installed (normally this is only the areas that will be walked on). Send your scale drawing to WarmlyYours, the manufacturer of TempZone, an electric radiant heating system (contact information for WarmlyYours is listed in the Resource links below). WarmlyYours will send you a detailed layout with instructions and a list of all the cables you'll need for installation. Talk to an electrical contractor about electrical requirements. You may need a separate protected circuit for the radiant heat flooring. Purchase materials from WarmlyYours. Follow WarmlyYours' instructions to position the heating cables on the subfloor (the subfloor is usually plywood or cement backerboard). This involves cutting the mesh backing and stapling each panel to the floor. Be sure to use the supplied tester to test the wires before proceeding to the next step. Cover the heating cables with tile adhesive. Lay the tile. For detailed instructions on how to lay floor tile, see the Resource links below. Have an electrician connect the wires to the thermostat. INSTALLING RADIANT HEAT FLOORING - HYDRONIC There are a few ways to install hydronic radiant heating systems, but since most folks will retrofit their home with hydronic tubing in joist spaces rather than completely remodel all the floors in each room, this section outlines those steps below. You CAN install hydronic tubing under hardwood flooring (see the Warmboard website link in the resources listed below), but it raises the floor about an inch and requires you to completely reinstall the flooring unless you are constructing a new home. You can also install hydronic tubing in a thin slab of concrete on the floor, but this is better suited for new construction. Keep in mind the floor frame must be sturdy enough to support the concrete AND the water running through the hydronic tubes. If you can access the joist spaces beneath the rooms or areas you want to heat, installing a hydronic radiant heating system is easy: Purchase your materials from a radiant heat specialty company like Radiantec (listed in the resource links below). Install aluminum transfer plates underneath the floor(s) you want to heat. Be sure to install two transfer plates per joist bay. Put together the manifold with circulating pump, sensor, relay switch and mixing valve and secure it to a wall. Locate the boiler and attach the supply and return hot water pipes to the mixing station. Drill holes in the floor joists (the hydronic tubing will thread through them). Thread the hydronic tubes through the new holes and position them in the transfer plates. Secure the tubes in the plates with a rubber mallet. Put fiberglass insulation underneath each transfer plate and between the joists. Attach the hydronic tubing to the manifold at the mixing station. Hire a licensed electrician connect the wires between the thermostat, relay switch and pump.